Introduction
Why make your blog look boring with regular fonts? Let your blog speak of your dynamic personality and the niche you are blogging about with the help of custom fonts. Custom fonts are the new fad and can help you in making your theme stand out.
Let’s admit, we all love blogs and websites with wisely chosen fonts. They not only make the whole site look beautiful but also hook the user to your content too. However, the choice of WordPress fonts is limited and depends on the theme that you are using. But the good news is that you can add custom fonts to WordPress either manually or by making use of a few plugins.
This brings us to an obvious question – where do we get custom fonts for WordPress? Let’s find out.
Where to download fonts for WordPress
There are various websites from where you can source free web fonts. Font Squirrel is one of such websites where you can easily find free fonts which are licensed for commercial work. Google Web Font Service is another free font service provided by Google and has fonts in more than 135 languages. Edge Web Fonts is also a free font service provided by Adobe which boasts of its huge collection of web fonts. You might even like to try Typekit which is a free library of thousands of web fonts, along with Fonts.com which claims to provide more than 150,000 web and desktop fonts.
Other websites from where you can download free fonts include dafont and 1001freefonts.
Converting Fonts to a Web-Friendly Format
Now that you have found the font you want to use on your website, it is time to check their format. It is worth mentioning here that not all fonts are supported by web browsers. But, fret not, even if your chosen font is unsupported, you can still convert it to a compatible format.
Before converting fonts from one format to another, let’s have a quick look at different font formats.
- Open Type Fonts
Abbreviated as OTF, these are the most commonly used web fonts and are a registered trademark of Microsoft. They work well with almost all major browsers. - True Type Fonts
Also called as TTF, these fonts were developed by Microsoft and Apple in 1980 and are widely used for both Windows and Mac operating systems. They are supported by all major browsers including the likes of Internet Explorer from version 9.0, Google Chrome from version 4.0, Safari from version 3.1, Firefox from version 3.5 and Opera from version 10.0. - Web Open Font Format
WOFF fonts are widely used in web pages and are recommended by W3C. These are supported mostly by all browsers including Internet Explorer from version 9.0, Google Chrome from version 4.0, Safari from version 3.1, Firefox from version 3.5 and Opera from version 10.0. - WOFF 2.0
WOFF 2.0 fonts have an edge over WOFF 1.0 due to their better compression abilities. They are not supported by Safari and Internet Explorer, but work well with Google Chrome from version 36.0, Firefox from version 35.0 and Opera from version 26.0. - Embedded Open Type Fonts
These fonts are compact OTF fonts and are used as embedded fonts on web pages. They are supported by all major browsers.
If you have found the font you want to use on your WordPress website, but are not sure if it is compatible with all browsers, use Web Font Generator tool. This tool allows you to convert almost any font to web friendly format easily:
- Access Web Font Generator tool.
- Press the Upload (1) button in order to upload your font, agree that the fonts are legally eligible for web embedding (2).
- Press the Download button (3) and save the .zip archive to your computer.

- Inside the archive you will find fonts in WOFF and WOFF 2.0 format along with CSS files and demo HTML page. These font formats are supported by almost all browsers.

Now that you have all the basic info in your hands, let’s see how to add custom fonts to WordPress.
What you’ll need
Before you begin this guide, you’ll need the following:
- Access to WordPress administrator dashboard
- Access to hosting control panel or FTP (optional)
Option 1 – Adding Custom Fonts to WordPress with Plugins
Plugins are probably the easiest way to add fonts to WordPress. Some of the most popular plugins are listed below:
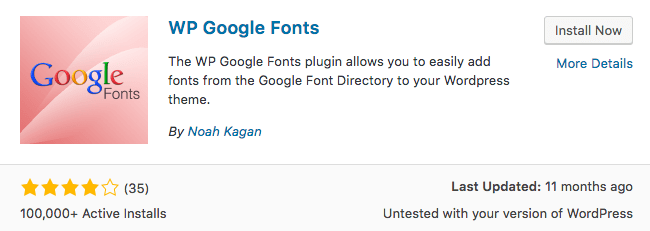
WP Google Fonts

You can easily add fonts to WordPress website by making use of WP Google font plugin. This plugin would automatically include the necessary code to your site. It also provides you with the freedom to use custom fonts in specific CSS elements from WordPress admin.
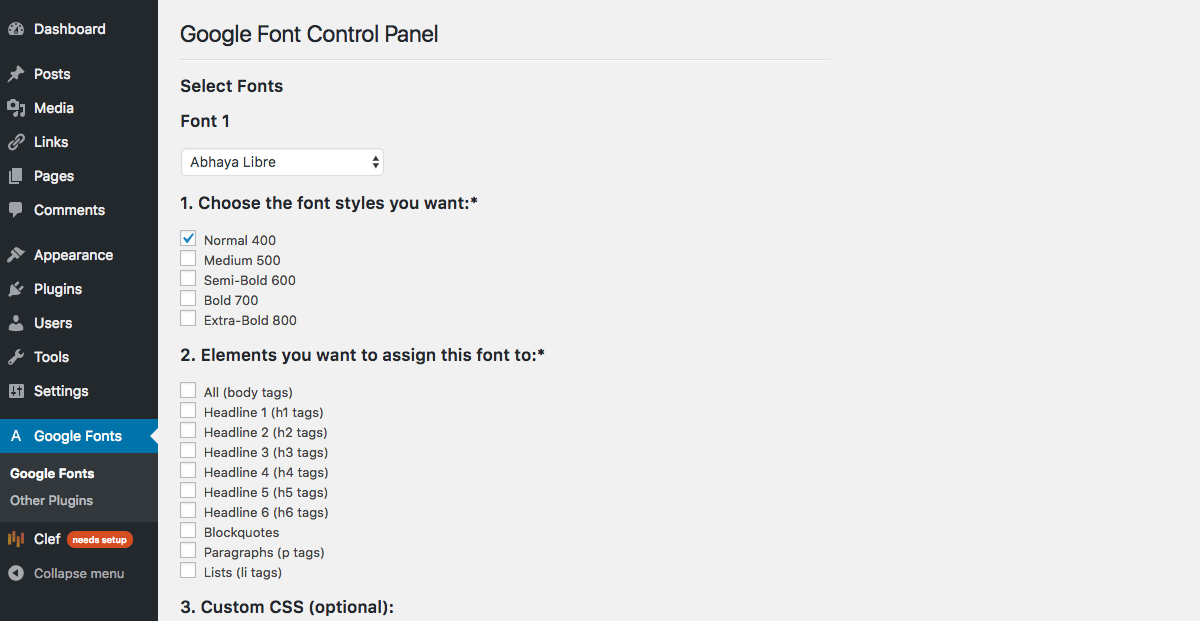
Simply install this plugin from the official WordPress plugin directory and open Google Fonts section. You will be presented with Google Font Control Panel. Here you can select fonts and change various settings like font style, assigned elements, etc.

Typekit Fonts For WordPress

If you want to add Typekit fonts to your WordPress website, you will have to sign up with Typekit and create your own kit first. Detailed instructions on how to create kits can be found here.
Once you have created your kit, install the Typekit Fonts For WordPress plugin. In order to configure this plugin, access Settings -> Typekit fonts section and paste your embed code. This plugin will automatically load fonts you have added to your kit.

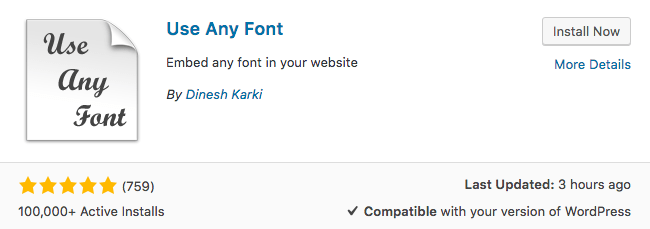
Use Any Font

Use Any Font is another plugin through which you can add a number of fonts to your WordPress website.
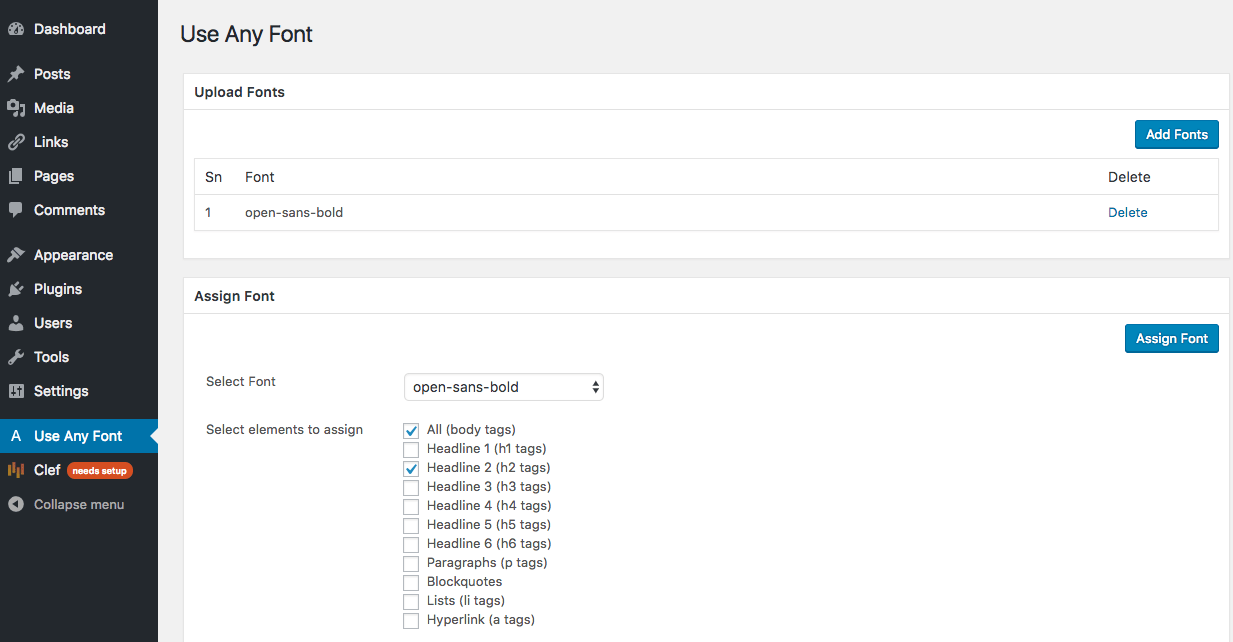
You can install this plugin from official WordPress plugins directory. Once the installation is complete, navigate to Use any font section, create a free API key and press the Verify button.
After verification is complete, you will be able to upload fonts in ttf, otf, woff formats. The plugin also allows you to assign fonts to custom elements.

Option 2 – Adding Custom Fonts to WordPress Manually
If you do not want to burden your WordPress with plugins, you can add fonts to WordPress manually. The process is pretty easy: you have to upload fonts to your hosting account and edit the theme’s CSS file. Exact instructions on how to add custom fonts to WordPress:
- Download the font to your computer.
- Usually font files come in .zip archive. Extract it.
- Now you need to upload the font file (you can use FTP client or File Manager for this) to wp-content/themes/your-theme/fonts directory (create fonts folder if it does not exist). In our example, we have uploaded AguafinaScript-Regular.ttf font.

- Now head to WordPress admin area and open Appearance -> Editor. You should be presented with the style.css file. Scroll to the bottom of this file and add the following code (do not forget to change font-family and url values in order to match your font):
- Press the Update file button in order to save changes.

font-face code loads the font every time a visitor accesses your website. However, the font is still not applied to any elements. Thus, you will not see any changes in the front-end. In order to assign the font for a specific element, you need to edit the same style.css file. For example, the following code would apply Aguafina Script font to our website title:
In the below screenshot you can see the final result.

Conclusion
We hope that the above tutorial helped you in adding custom fonts to your WordPress. It is highly recommended to go for plugins, as it’s an easier and simpler method than doing it manually.


No comments:
Post a Comment